
Getting Started
Before you create API Requests, you will need the following details:
Workflow in the Leegality Dashboard
API Payload
Auth-Token
In this chapter, you will find a step-by-step guide on each of the above. Additionally, this chapter includes the Postman Collection and the Server URLs for sandbox and production.
Create a Workflow
A workflow allows you to pre-configure all the touchpoints of a document execution journey without your IT/tech team via the Leegality Dashboard. To integrate with the Leegality API, you will first need to create a Workflow. At the time of making an API Request, you will require a “Published Workflow Profile ID”You can ask the relevant teams in your organization to share the required Workflow ID. In case your team is tasked with creating the Workflow and generating Workflow ID you can follow the 7 steps below:
1.
Go to “Workflow” on the workstation on your Dashboard.
2.
Click on “New Workflow Profile”, and a pop-up will open
3.
Go to “Workflow” on the workstation on your Dashboard.
4.
You will be redirected to the “Create” screen. Here, you can upload a PDF or use a template as per your requirements. Check out these links to see how you can use templates
In case you want to use Stamp Paper for this Workflow, you need to select the relevant Stamp Series for your use case.
NOTE: You need to pre-purchase a particular number of Stamps to be able to use this functionality.
5.
Next, on the “Invite” screen, add signers/invitees to the workflow profile.
A.
By default, a signer order is assigned- invitations of subsequent invitees are only activated on successful eSigning by the previous invitees. You can deactivate this with a simple toggle.
B.
If you need a fixed signatory, for example, if the Branch Manager has to sign every agreement, you can toggle on “Configure Invitee” and add a signatory.
NOTE: At this stage, you won't need to add a signatory as this is just a pre-configuration. You will be adding the signer’s details while making an API Request for eSigning. The only exception is point B. above.
C.
Once you have configured Signature type and other options for all the invitees with their custom configurations (if any), you can proceed to the next stage.
6.
On the “Finalize” screen, set custom coordinates (placement of signatures) if required. Click on save to create the workflow profile.
7.
Once you’re done, check the status of the Workflow on the Dashboard, it should be “Published.” The Workflow ID that you will need to make the API calls are mentioned IN in the leftmost column - “Workflow ID”
Download the API payload
After you’ve published the Workflow, you can easily download the API Payload in JSON format from the Workflow screen.
1.
Go to “Workflow” on the Dashboard.
2.
Click on the actions button for the desired Workflow.
3.
Click on “Download API Payload”.
Your API payload in JSON format is ready to use.
Generate Auth Token
An “Auth Token” is a unique identifier that you need to interact with Leegality’s API. Without the auth token, you won’t be able to use the Leegality API. You can get the “Auth Token” in just 3 steps:
1.
On the Leegality Dashboard, go to “Account”.
2.
From the options on the left, select “Settings”
3.
In the “API” tab, you will see the “Auth Token”. Copy and use it to validate API Calls.
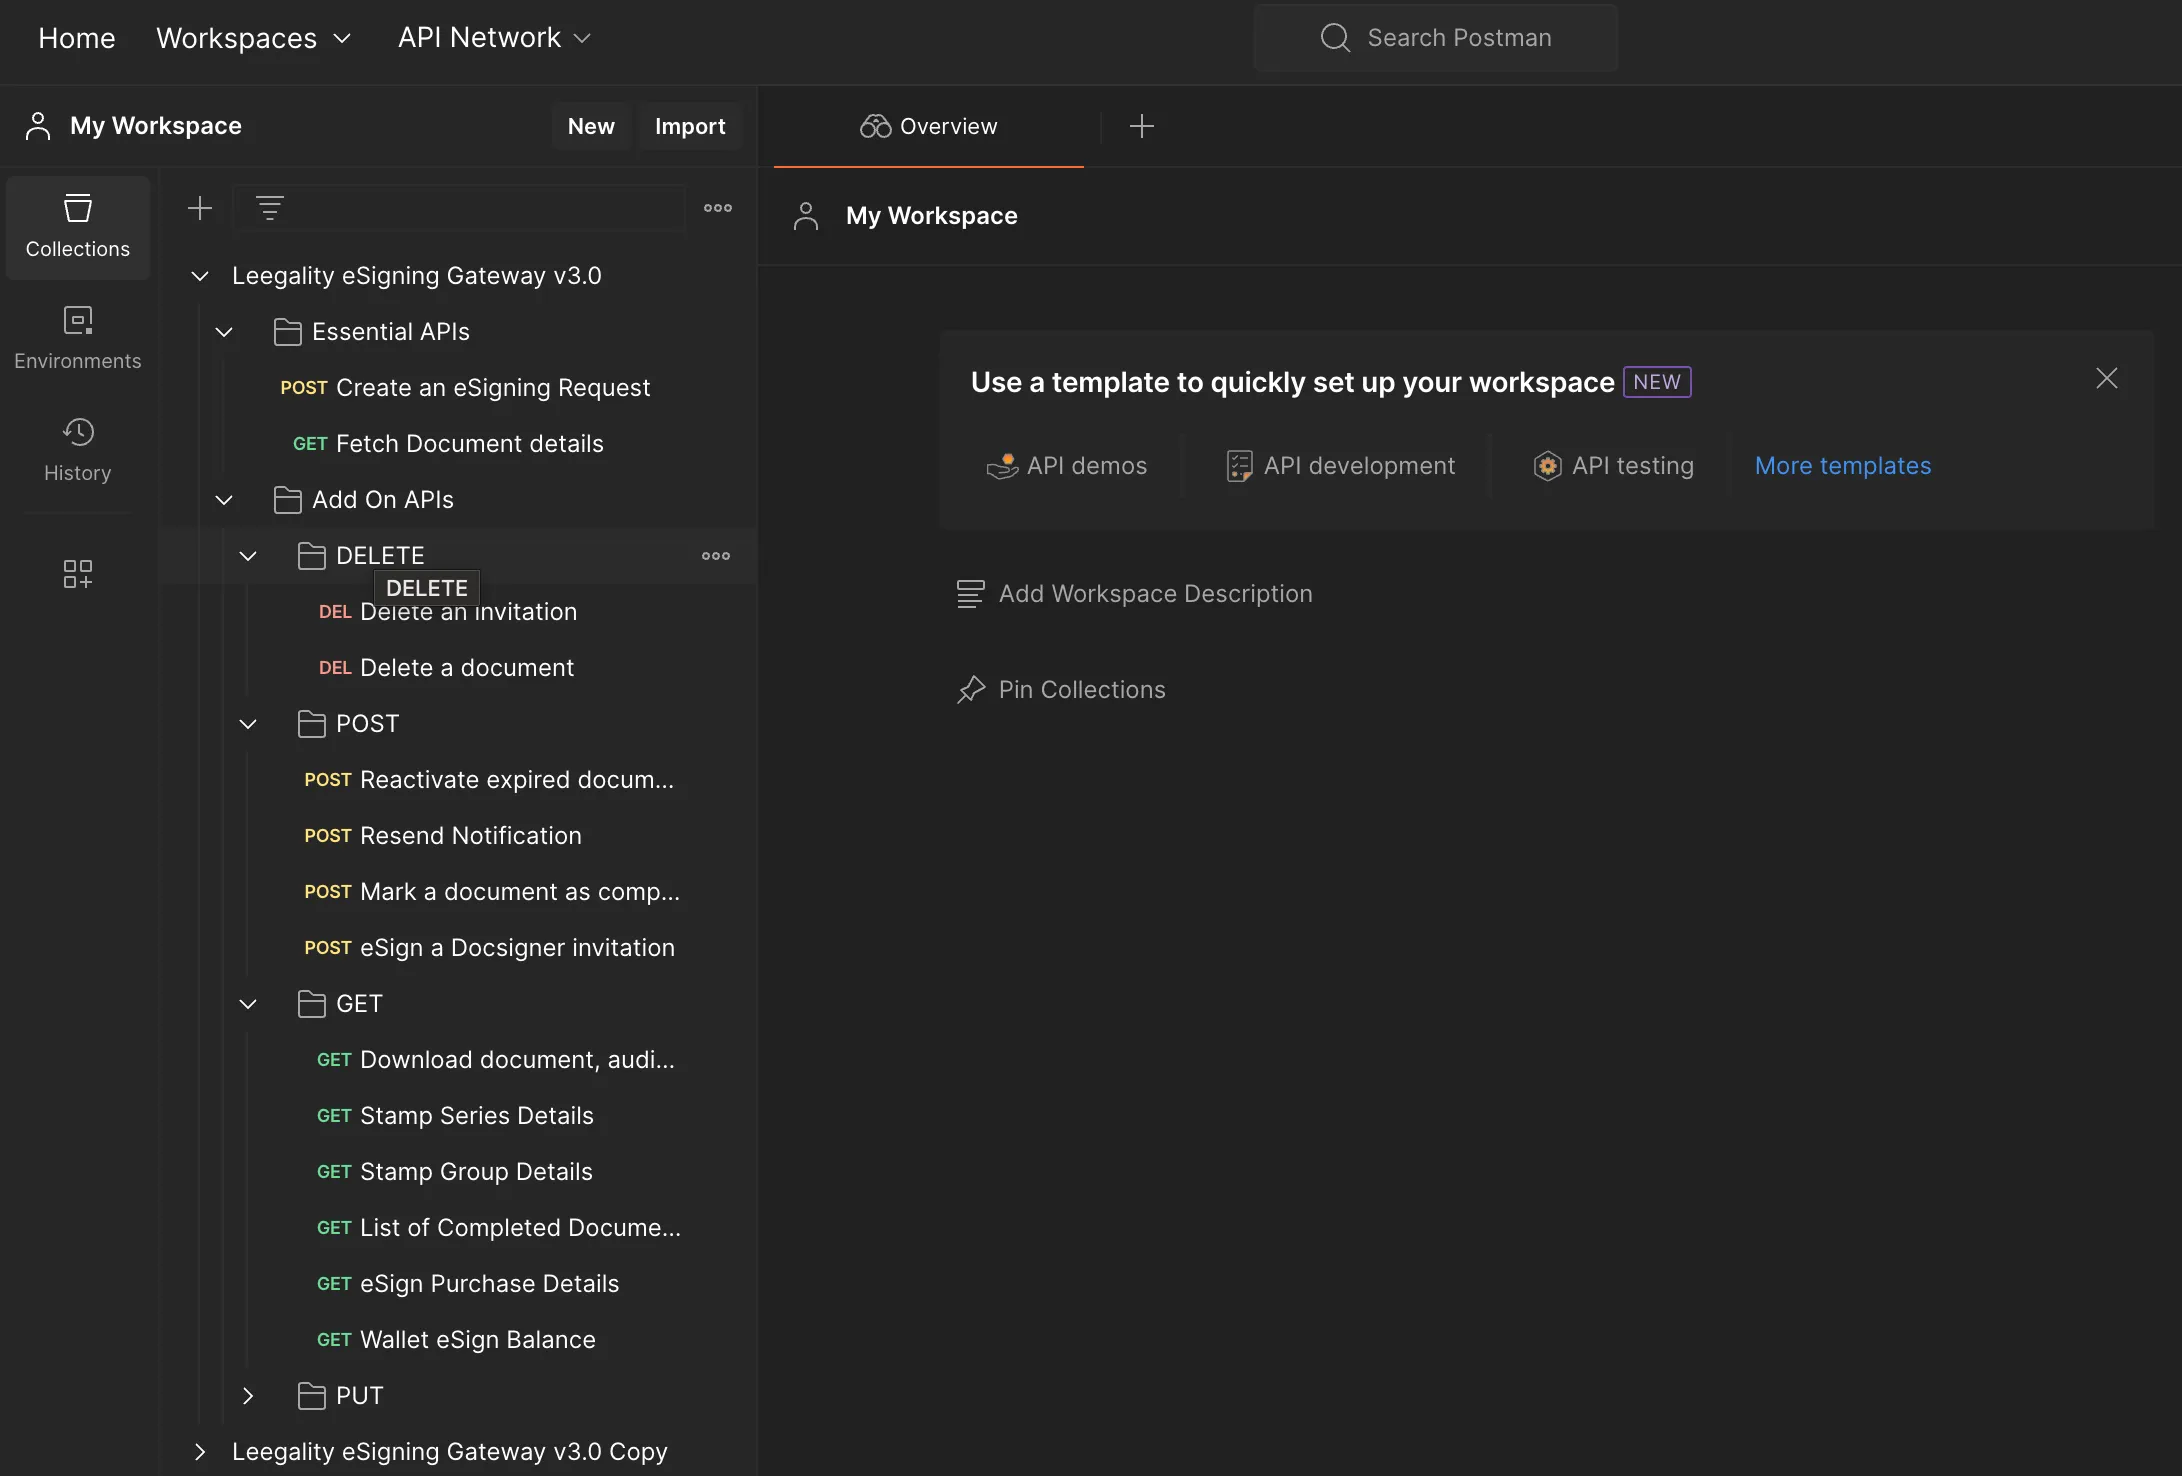
Postman Collection
A Postman Collection is a group of API Requests that you can use on Postman for testing APIs before you perform a full integration.
You need to use different APIs to perform different tasks. This means that each time you test a specific scenario, you must set up a new request and enter all the required parameters again.
In the Postman Collection, we've gathered the most frequently used Requests, with some parameters already pre-filled. To use it, simply follow the steps below:
1.
Click here to download the API 3.0 Postman Collection in JSON format
2.
Import this JSON file to Postman by uploading it from your computer or using a simple drag and drop.
3.
The Collection will reflect in your workspace and is ready to use.
Server URLs (Base URLs)
1.
At the time of making an API call , you will need the API URL.
2.
The base URLs stay the same within one environment.
3.
As you perform different functions using the API, the base remains the same, and the path in respective URL changes as per the API.
4.
The URLs for testing on Sandbox are mentioned in the API Documentation. When you move from Sandbox to Production, this URL needs to be updated.
For example, While using sandbox if you're using- https://sandbox.leegality.com/api/v3.0/sign/request, when you move to production use- https://app1.leegality.com/api/v3.0/sign/request
Sandbox Dashboard - https://sandbox.leegality.com
Sandbox Base URL - https://sandbox.leegality.com/api/v3.0
Production Dashboard - https://app1.leegality.com
Production Base URL - https://app1.leegality.com/api/v3.0