
Creating an eSign request
General notes
The detailed step-by-step steps on how to create an eSign Request are mentioned in Part E (Postman Testing) of this Chapter. But before you create an eSign Request, there are some things that you should keep in mind. Here is a list.
1.
To create an eSign Request, you need to make a POST call with the name, email ID or Phone Number or both of the signer/signers.
2.
To create an eSign Request, you need to make a POST call with the name, email ID or Phone Number or both of the signer/signers.
3.
If you're using:
A.
PDF Type Workflow you can pass a PDF file encoded in Base64 format.
B.
Template Type Workflow and variable fields -you can pass the template ID, map the fields and pass the respective field data.
4.
In response to an esigning request, you will receive the following-
A.
Unique Document ID
B.
eSigning URL
5.
You can access the API documentation for creating an eSign request here.
6.
Creating an eSign request and getting details of the executed document is also captured in the steps below:

Mandatory fields
There are fields without which an eSigning request cannot be sent.
A.
Profie ID i.e. Workflow ID
B.
Invitee Details (Name, Email/Phone Number)
If any eSigning request is sent without these fields, you will see an error.
Optional fields

Optional fields depend on your Workflow. If you have to enable a specific feature in your Workflow, you will be required to pass that field otherwise you will get an error.
For example, if your use case requires the document to be stamped, and you have toggled on the stamp feature in the Workflow- it becomes mandatory for you to pass the stamp series.
The API Documentation mentions various optional fields. In the screenshots below, the fields where “required” is mentioned are mandatory, all other fields are optional.
Response
In Response to the API request, you will receive
A.
Document ID- The Document ID is unique to each transaction. It is essential for all future API Calls you need to perform with respect to that specific document like tracking whether the document has been executed, deleting a document- etc.Signing URLs
B.
Signing URLs
C.
IRN- Internal Reference Number, you can later use the internal reference number to search for this document either through the Search API or through your Dashboard.
The Response will depend upon your API Request. If you have only one invitee, you will receive the response for only one such invitee.
Here is a sample response:

Testing postman
Making API calls on Postman can familiarize you with the specific APIs and responses. Once you hit an API, you will be able to see the actual response. This can help in a faster go-live.
Here is an example of how you can test POST API for sending an eSigning request:
1.
Download the API Payload from the dashboard as shown in the image below.
2.
Import the Postman Collection in JSON format to Postman by uploading it from your computer or using a simple drag and drop. The Collection will reflect in your Workspace and is ready to use. (You can download the collection here.)
3.
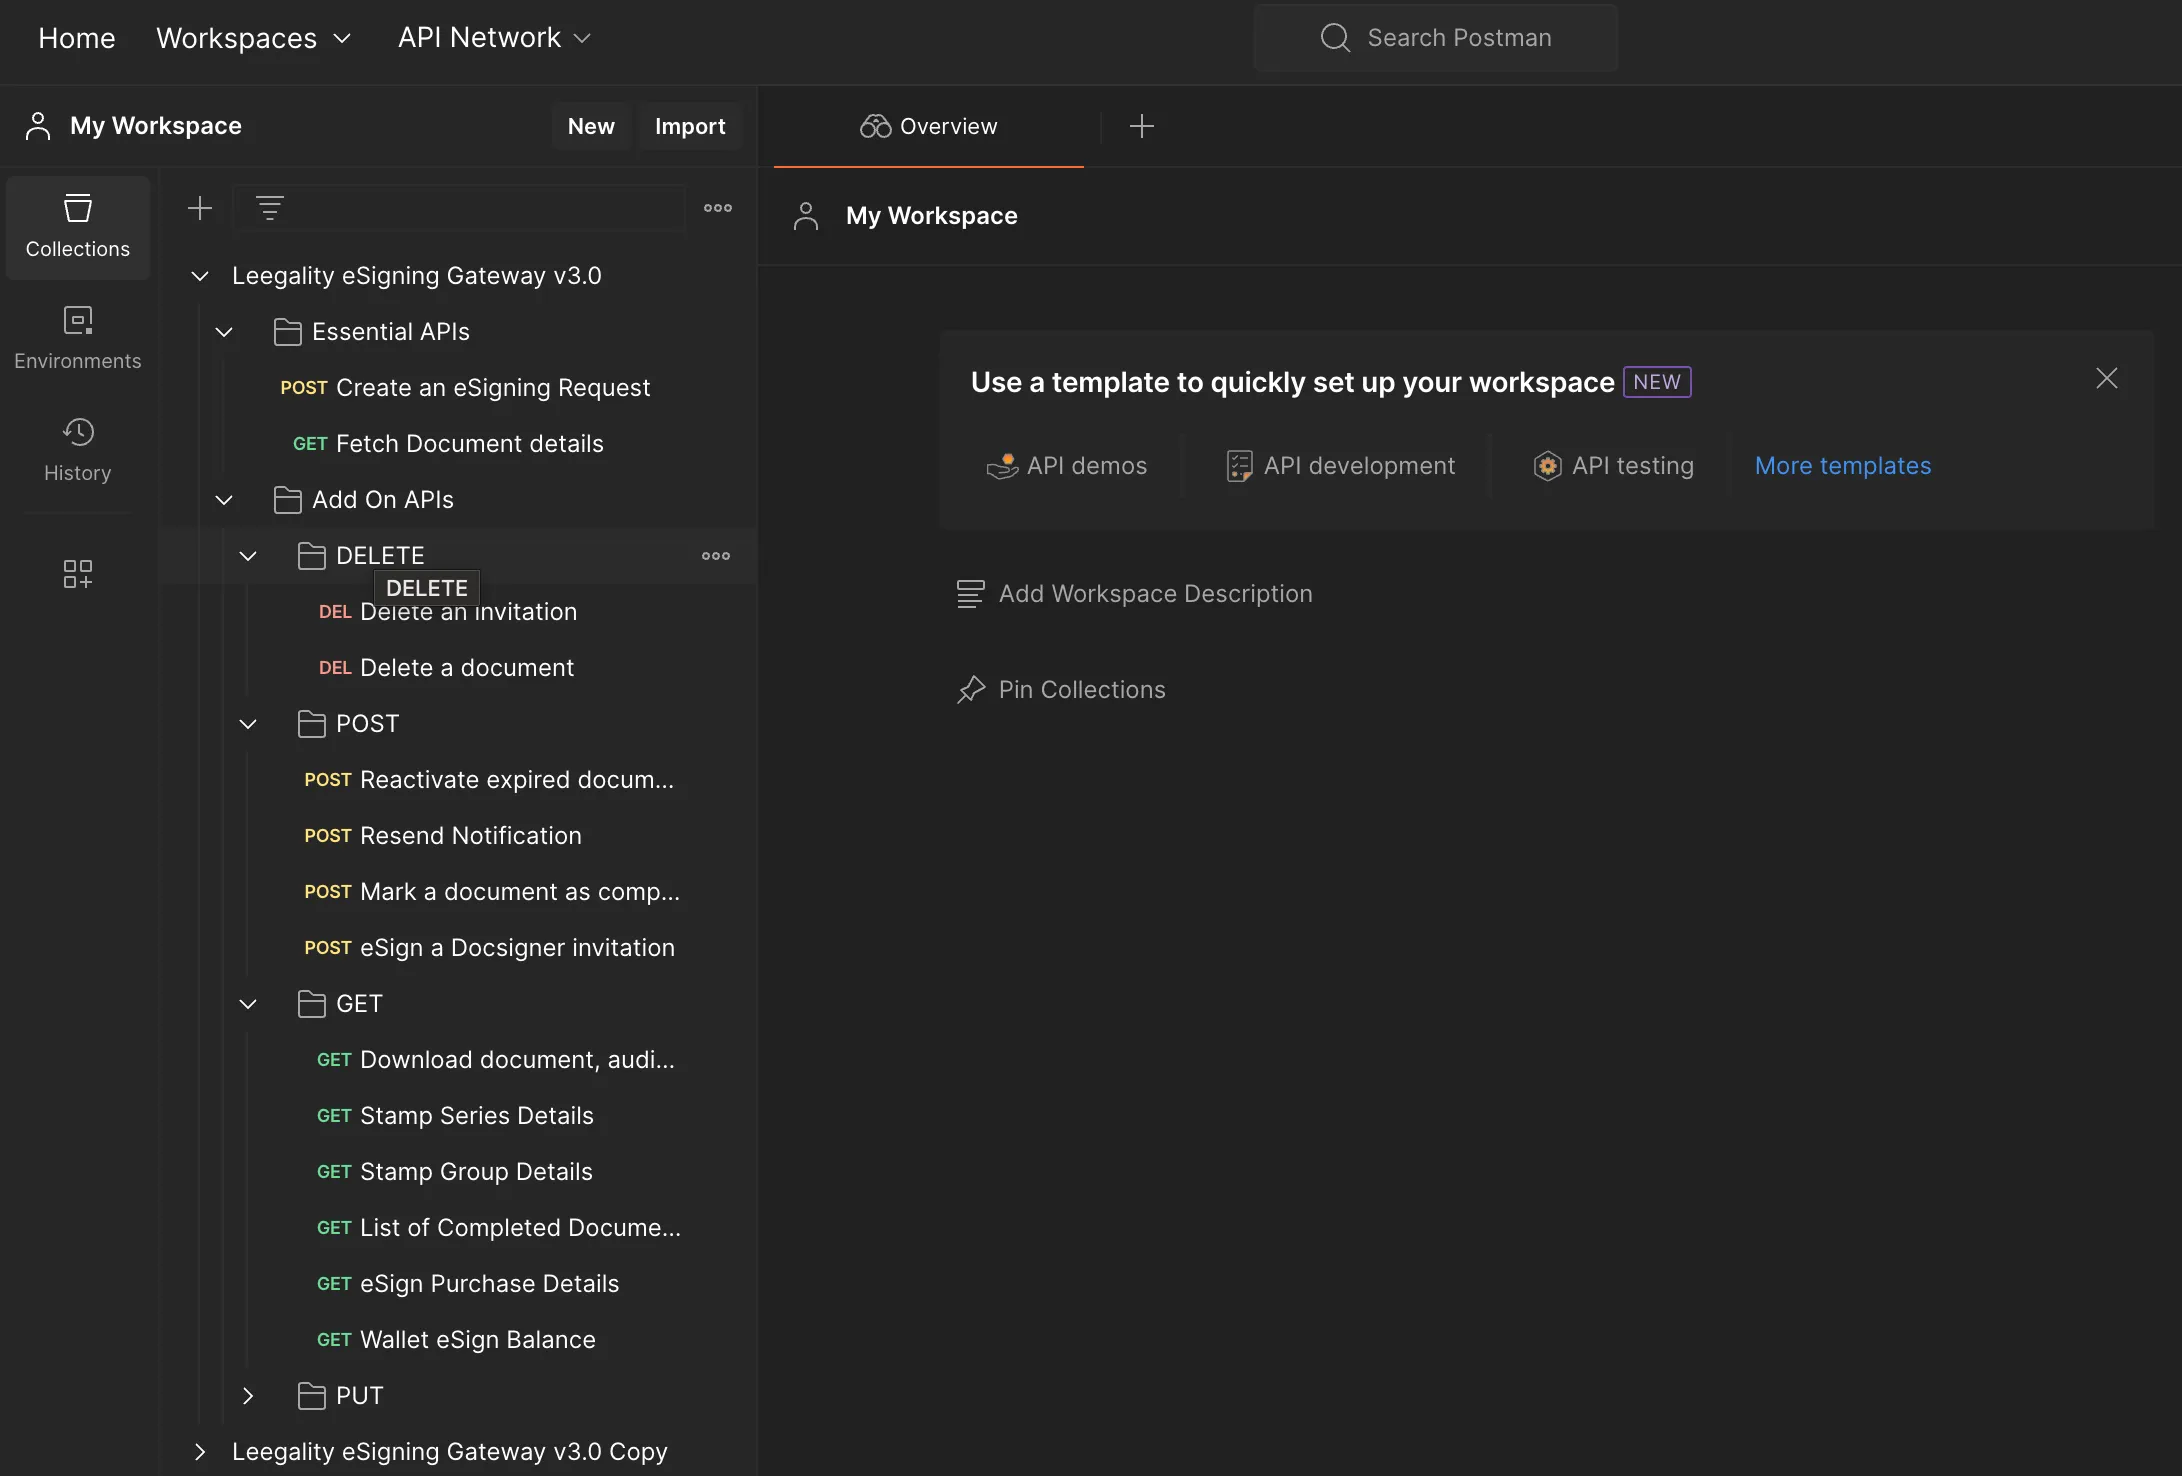
Select the POST API for creating an eSigning Request from Essential APIs.
4.
Select the Headers Tab under the URL.
5.
For the key “X-Auth-Token”, the value will be the Auth Token that is available in the API Settings on the Dashboard. Here is how you can get the Auth Token.

6.
Now copy the API Payload that you downloaded from the workflow and paste it into the “Body”. Here you can enter any variable values and add the name, email id/phone number of the invitee

7.
In the API Response, you will get the document id as well as the signing URL. With this document ID you can test the GET API as well to check the transaction status.
